This guide will walk you through creating partitions, formatting them, mounting the system, and installing a basic Linux system using pacstrap.
This tutorial assumes you’re using UEFI boot and are installing Arch Linux.
1. Boot from a USB (UEFI)
Create a bootable USB drive with UEFI support and boot into the live environment.
Make a bootable USB drive with UEFI support and boot the system on that. If you are using Unix based system you can make a bootable device via following command. But if you are using Windows you can make a bootable device via Rufus. Please consider to select GTP partition table with UEFI target system.
sudo dd status=progress if=<archlinux-image-address> of=<device-address> bs=4M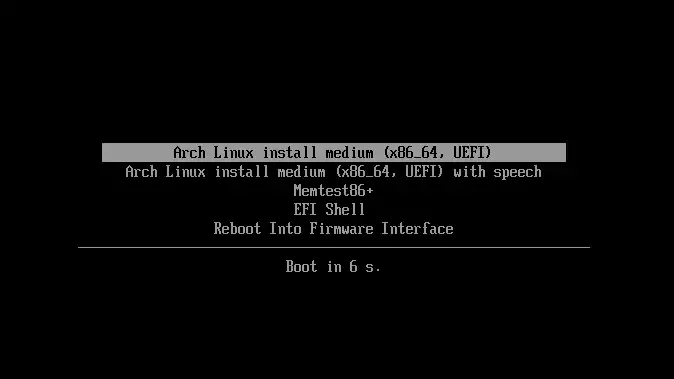
2. Identify Your Disk
Run the following command to list all block devices:
lsblk
3. Partition the Disk
In my case the sda is the block that I want to do some partitioning which about 40GB. So I apply with regard to the size of my partition. To do so run the following command:
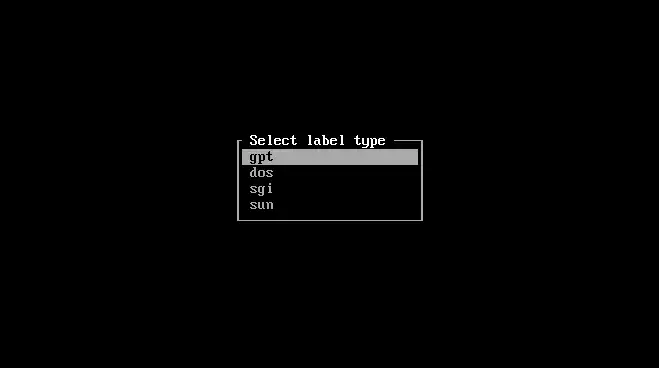
cfdiskcfdisk is a curses-based program for partitioning any block device.
By running this command you might be asked to select a partition table. Choose gpt when prompted for the partition table.
By selecting free space and hitting New on the non-partitioned size set the new block sizes for our new linux system. For our basic installation we need the following partitions:
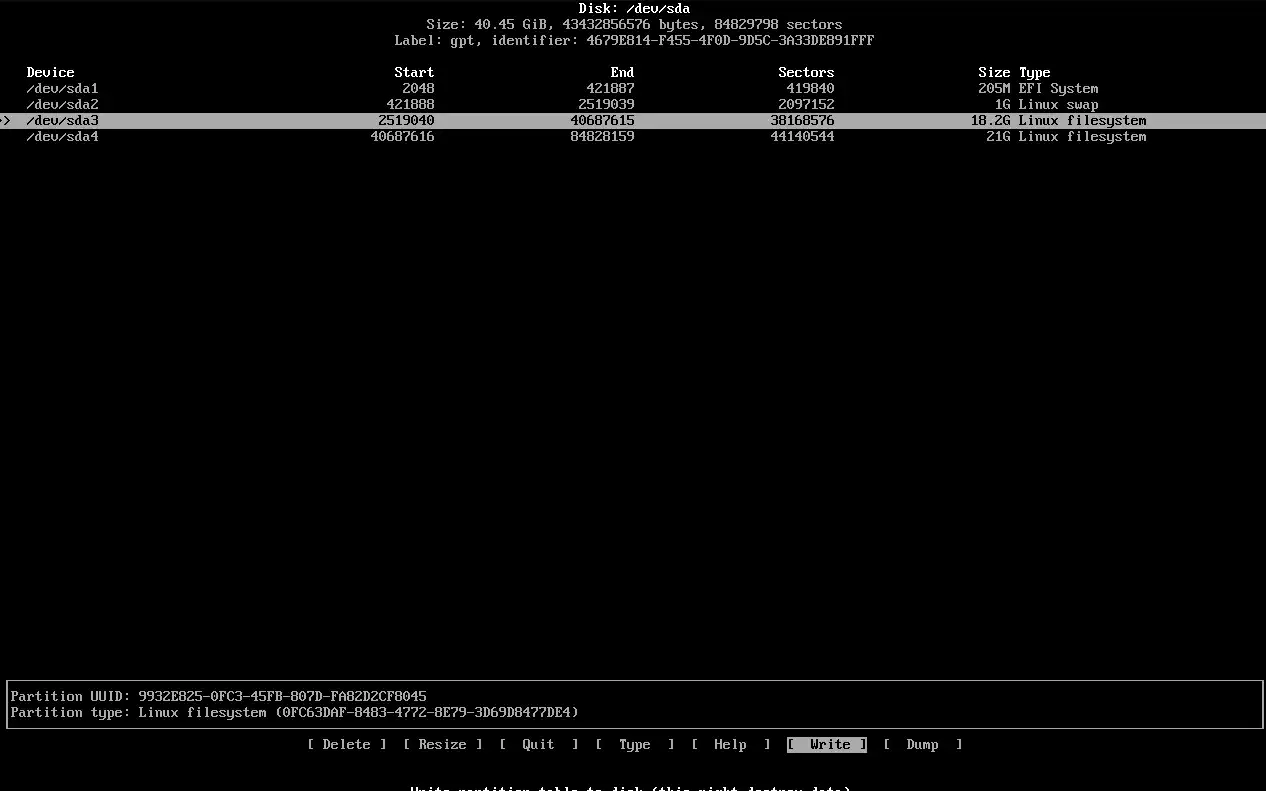
-> 200MB EFI system for boot
-> 1GB   swap (optional)
-> 18GB  /
-> 21GB  /home
These block sizes for / and /home are set according to my needs in this tutorial. You can set higher values for you use case. For example at least 40GB of disk space is required to be set for / dir.
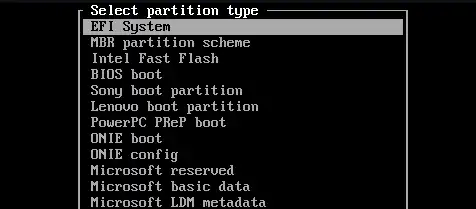
Then we can optionally set label for each partition to help the bootloader identify the partition purpose by hitting Type when each of these blocks is selected.
What is Linux Directory Structure?
For the EFI partition set its label to EFI System:
And for Linux swap:
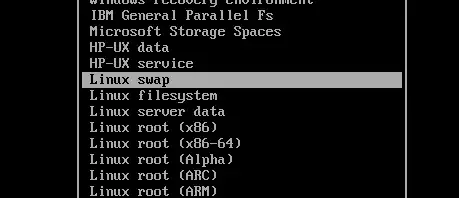
For the other two partition leave it to be Linux filesystem.
After creating all partitions, select Write, type yes, and exit.
4. Format the Partitions
Format each partition by running the following commands.
mkfs.fat -F 32 /dev/sda1
mkswap /dev/sda2
mkfs -t ext4 /dev/sda3
mkfs -t ext4 /dev/sda45. Mount the Partitions
Now that the partitions are ready we can go on by installing the OS. For doing that first we need to mount these partitions into the system. By running:
mount /dev/sda3 /mntSince the mounted partitions are empty, we need to create the required directories to mount nested other disks into nested directories.
mkdir -p /mnt/boot/efi
mkdir /mnt/home
Now we mount the rest of disks:
mount /dev/sda1 /mnt/boot/efi
mount /dev/sda4 /mnt/home
swapon /dev/sda2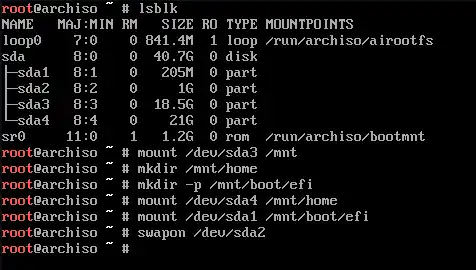
6. Install the Base System
Now the system is ready for OS installation. To install the essential packages:
pacman -Syy
pacman-key --init
pacman-key --populatepacstrap -K /mnt base linux linux-firmware sudo nanopacstrap is a tool to create a new system installation from scratch.

The
-Kflag initializes a new pacman keyring, instead of using the hosts keyring, for people who are using unofficial mirrors within their chroot and want to import their keys from the host can omit this flag.
base: Minimal package set to define a basic Arch Linux installationlinux: The Linux kernel and moduleslinux-firmware: Firmware files for Linuxsudo: Give certain users the ability to run some commands as rootnano: A terminal based text editor
7. Generate fstab
Now the base system is installed. We need to tell the bootloader how to load each of the disks by running the following command.
genfstab -U -p /mnt > /mnt/etc/fstabNow we are done. We can go into the newly installed operating system and do the rest of configurations.
8. Chroot into the New System
arch-chroot /mnt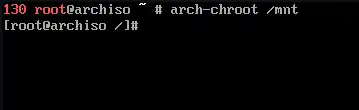
9. Set Locale and Timezone
first we need to generate locales:
nano /etc/locale.genUncomment your preferred locales. For example en_US.UTF8 and fa_IR.UTF8
To generate the locales run:
locale-gen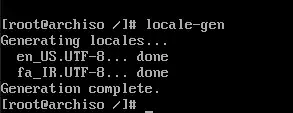
To set the correct timezone:
ln -sf /usr/share/zoneinfo/Asia/Tehran /etc/localtimeTo set clock:
hwclock --systohc10. Set Hostname and Hosts
set hostname:
echo "seraj-pc" > /etc/hostnameset /etc/hosts:
echo "127.0.0.1 localhost" >> /etc/hosts”>>” appends string to end of file while ”>” overwrites the string to whole file
11. Create a New User
useradd -m -G wheel,power,storage,audio,video -s /bin/bash seraj-mshould be set to create the home dir-slogin shell of the new account
Now set a password for root and the defined user:
passwd # change password for root user
passwd seraj # change password for defined user
12. Make wheel group sudoer:
By Using nano edit /etc/sudoers
nano /etc/sudoersUncomment wheel group:
# %wheel ALL=(ALL:ALL) ALL
%wheel ALL=(ALL:ALL) ALL
Save and exit
Since our defined user is added to wheel group then we have sudo privilege.
13. Install GRUB Bootloader
pacman -S grub efibootmgrgrub-install /dev/sdagrub-mkconfig -o /boot/grub/grub.cfg14. Install Network Packages
pacman -S dhcpcd networkmanager resolvconf- NetworkManager: is a program for providing detection and configuration for systems to automatically connect to networks.
- dhcpcd: is a DHCP and DHCPv6 client. It is currently the most feature-rich open source DHCP client. The Dynamic Host Configuration Protocol (DHCP) is a network management protocol used on Internet Protocol (IP) networks for automatically assigning IP addresses and other communication parameters to devices connected to the network using a client–server architecture.
- resolvconf: a framework for managing multiple DNS configurations.
Run the following commands to run these services on system boot:
systemctl enable dhcpcd
systemctl enable NetworkManager
systemctl enable systemd-resolved15. Final Steps
exit # exits from chrootumount /mnt/home
umount /mnt/boot/efi
umount /mnt
16. Reboot
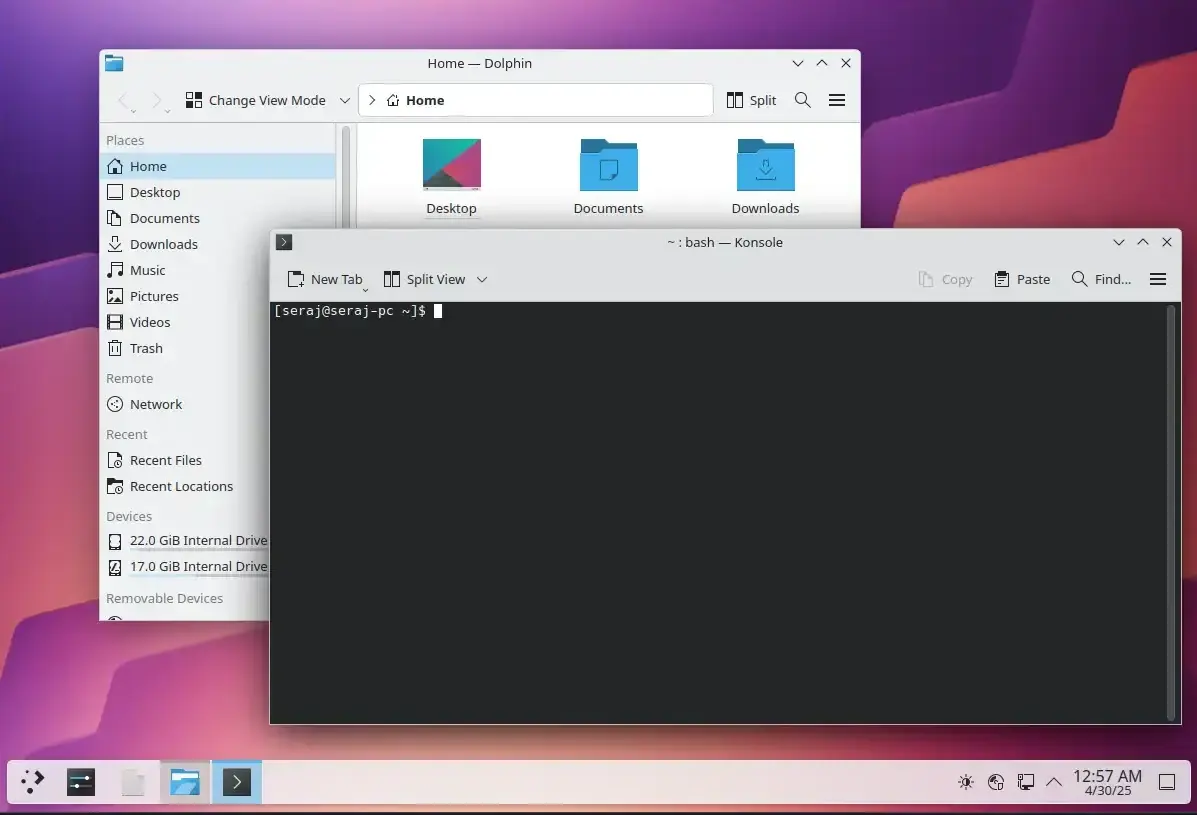
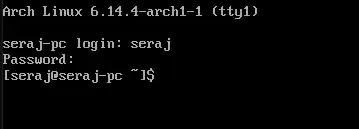
rebootIf you see something like the following image after reboot and login then you have successfully installed ArchLinux.
17. Install a desktop environment:
I prefer to use KDE.
sudo pacman -Sy plasma-desktop plasma-nm konsole sddm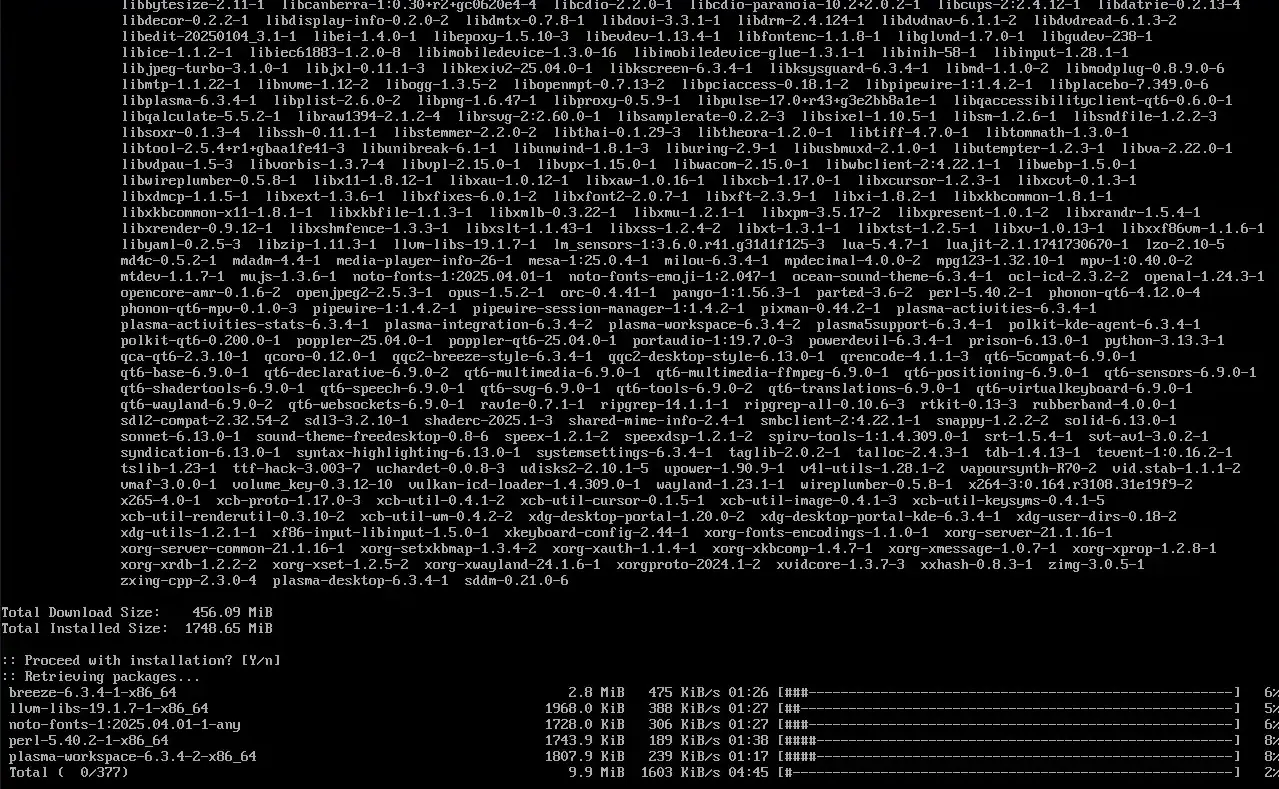
- plasma-desktop: KDE Plasma Desktop
- plasma-nm: Plasma applet written in QML for managing network connections
- konsole: KDE Terminal emulator
- dolphin: KDE File Manager
- sddm: sddm is a display and login manager based on Qt technologies.
Once installed by running the following command:
sudo systemctl enable --now sddmYou should see the login page:
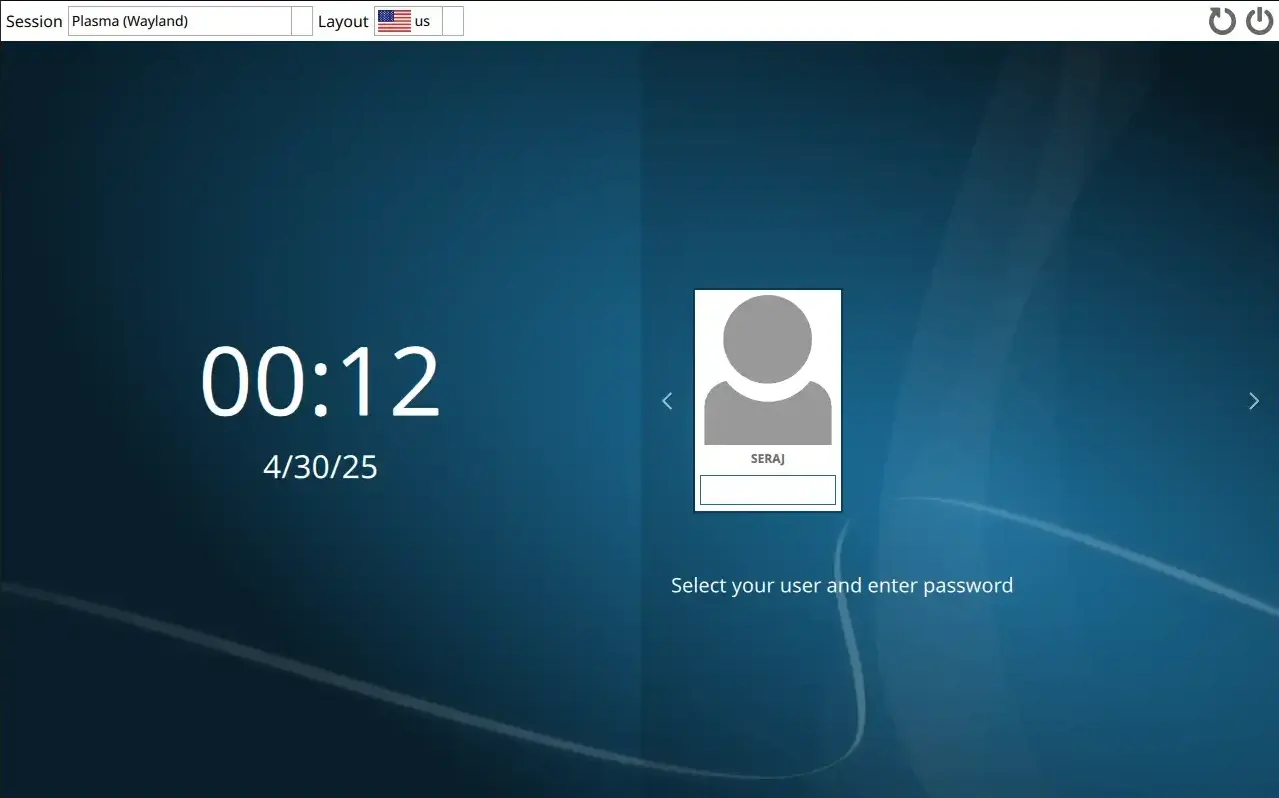
After login: